How to Refinish Hardwood Floors
It takes some elbow grease to refinish engineered hardwood flooring, but it’s worth it. Hardwood floors add value to your home and provide a classic look that goes with any style. Whether renovating an old home or just looking for a way to spruce up your current abode, refinishing hardwood floors is a great way to make a space feel brand new. Here’s some tips:
Prepare your floors
Remove all furniture, window treatments and rugs. Cover vents and electrical boxes with painter’s tape to prevent dust from getting into ducts and electrical work. If you are only refinishing one room, you might want to use plastic sheeting to seal doors. Use a pry bar to gently remove base molding. You can remove the small piece of quarter-round and leave the rest of the baseboards in place.
Pull up the moulding and repair
Before floor refinishing with a sander, you should pull up the shoe base moulding along where the floor meets the wall. You should also check the floor for larger holes or cracks and repair using wood filler and a spackle knife. If your floors are heavily damaged, it is best to use a trowel filler, a thinner wood filler that spreads and covers large areas. But if your floors are less damaged, use a wood patch filler on individual spots. Let the filler dry completely and then wipe down the floor with a damp rag to remove all debris and dust. Let it dry fully before sanding.
Sand the floor
Sanding eliminates scratches and stains from a hardwood floor, but may not be able to alleviate the deepest gouges or discolored patches of wood.
- Begin by using a drum sander or belt sander with the grain along the length of the boards.
- Always wear a dust mask, safety goggles and ear protection when using a drum sander.
- Work the drum sander back and forth over 3- to 4-foot lengths.
- Use overlapping strokes by at least 1/3 the belt width to remove scratches.
- Start with coarse sandpaper of 36 to 40 grit, progress to a medium 60-grit paper and finish with a finer 100 grit. Do not skip the progression from coarse grades to finer grades.
- Replace the abrasive belt after sanding about 250 square feet for most effective results.
- Sweep and vacuum the flooring to remove dust and debris between sanding with different grades of grit.
Buff the floor
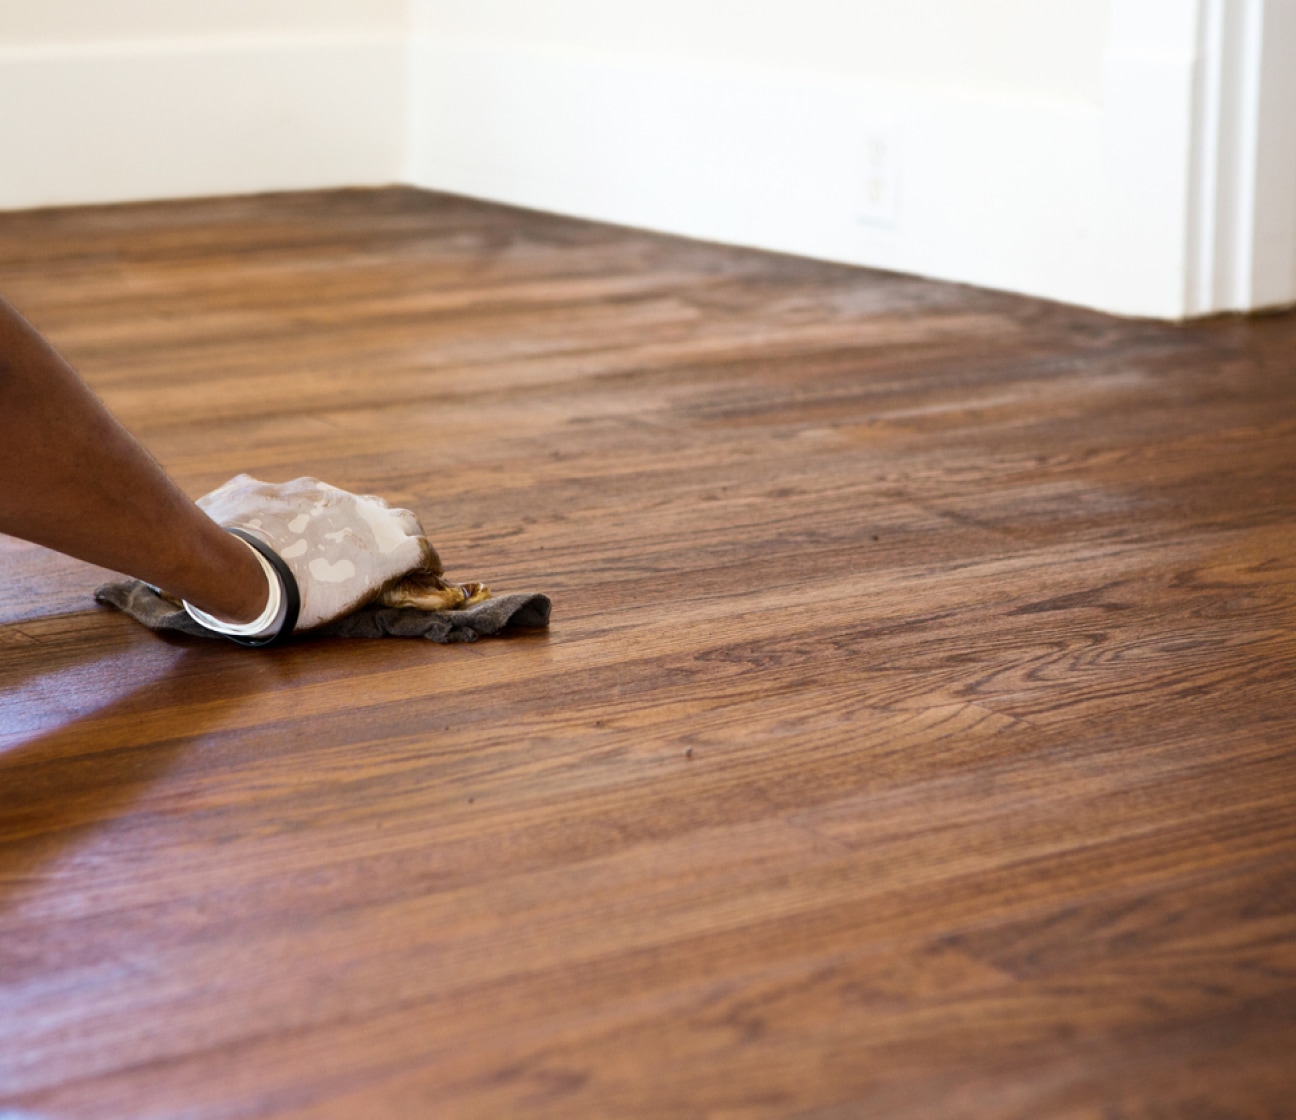
Buffing the floor will remove tiny sanding marks and give a completely smooth finish. Some people rent an industrial floor buffer for this step, but a pole sander, pictured, is another great option. Using a pole sander is a bit more time consuming, but also easier to use than a buffer and more affordable. Using a 120-grit sanding screen, buff the floor along each board, moving back and forth with the grain. Apply stain The bare floor is now ready for either stain or sealer. If you want to change the color of the wood, add a stain. Pick an oil-based stain in the color of your choice. Make sure your area is properly ventilated and wear a respirator mask. Stain and other finishing products emit harmful vapors. Use a lambswool applicator or staining sponge. Because you removed the molding in the first step, you won’t have to worry about cutting in around the edges of the floor. Dip your sponge or rag in the stain and then wring out any excess liquid. Work from the far corner of your room toward the door so you don’t step on the fresh stain. Apply stain in the same direction as the grain in 3- to 4-foot sections at a time. Don’t allow stain to pool on the floor. Wipe away excess stain from the floor before moving to the next area. Try to avoid letting the edges dry. Pay extra attention to where each section meets the next and use your sponge to blend these lines together. Once the entire floor is stained, let it dry completely (usually at least 24 hours). You may need to apply a second coat in the same manner to achieve the desired color.
Apply the Finish
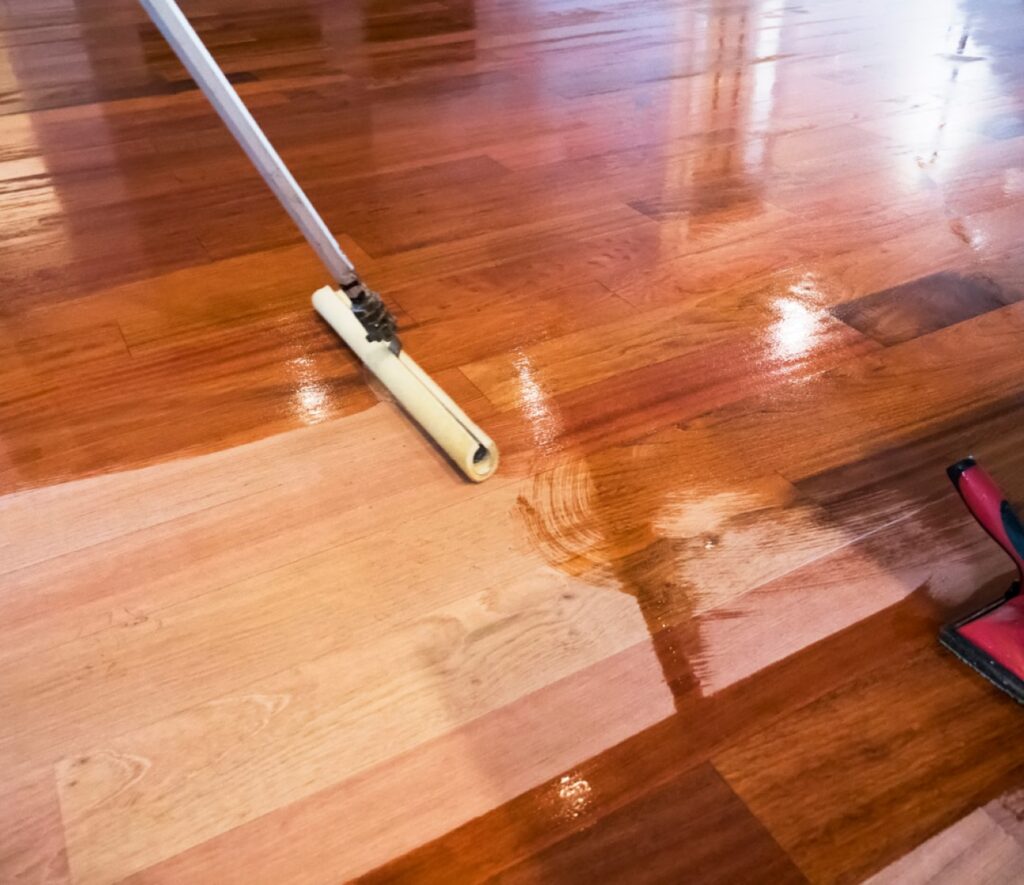
After the stain is dry or if you are skipping stain, finish by sealing the floor. Sealing protects the floor from water damage, dings and scratches and adds luster and shine to bring out the beauty of the wood.
Polyurethane sealer is probably the most popular hardwood sealer and is available as a water-based or oil-based product. Because polyurethane sits on top of the hardwood (it doesn’t soak in), it offers excellent protection from water and scratches and it requires minimal upkeep. It comes in a variety of finishes from glossy to matte. Make sure your space is well-ventilated and that you are wearing a respirator mask when using polyurethane, especially oil-based polyurethane.
Contact Get It Installed
To schedule an appointment or get a free quote on flooring installation in Kansas City, contact us at 913-375-2219