How to Refinish Hardwood Floors
It takes some elbow grease to refinish engineered hardwood flooring, but it’s worth it. Hardwood floors add value to your home and provide a classic look that goes with any style. Whether renovating an old home or just looking for a way to spruce up your current abode, refinishing hardwood floors is a great way to make a space feel brand new. Here’s some tips:
Prepare your floors
Remove all furniture, window treatments and rugs. Cover vents and electrical boxes with painter’s tape to prevent dust from getting into ducts and electrical work. If you are only refinishing one room, you might want to use plastic sheeting to seal doors. Use a pry bar to gently remove base molding. You can remove the small piece of quarter-round and leave the rest of the baseboards in place.
Pull up the moulding and repair
Before floor refinishing with a sander, you should pull up the shoe base moulding along where the floor meets the wall. You should also check the floor for larger holes or cracks and repair using wood filler and a spackle knife. If your floors are heavily damaged, it is best to use a trowel filler, a thinner wood filler that spreads and covers large areas. But if your floors are less damaged, use a wood patch filler on individual spots. Let the filler dry completely and then wipe down the floor with a damp rag to remove all debris and dust. Let it dry fully before sanding.
Sand the floor
Sanding eliminates scratches and stains from a hardwood floor, but may not be able to alleviate the deepest gouges or discolored patches of wood.
- Begin by using a drum sander or belt sander with the grain along the length of the boards.
- Always wear a dust mask, safety goggles and ear protection when using a drum sander.
- Work the drum sander back and forth over 3- to 4-foot lengths.
- Use overlapping strokes by at least 1/3 the belt width to remove scratches.
- Start with coarse sandpaper of 36 to 40 grit, progress to a medium 60-grit paper and finish with a finer 100 grit. Do not skip the progression from coarse grades to finer grades.
- Replace the abrasive belt after sanding about 250 square feet for most effective results.
- Sweep and vacuum the flooring to remove dust and debris between sanding with different grades of grit.
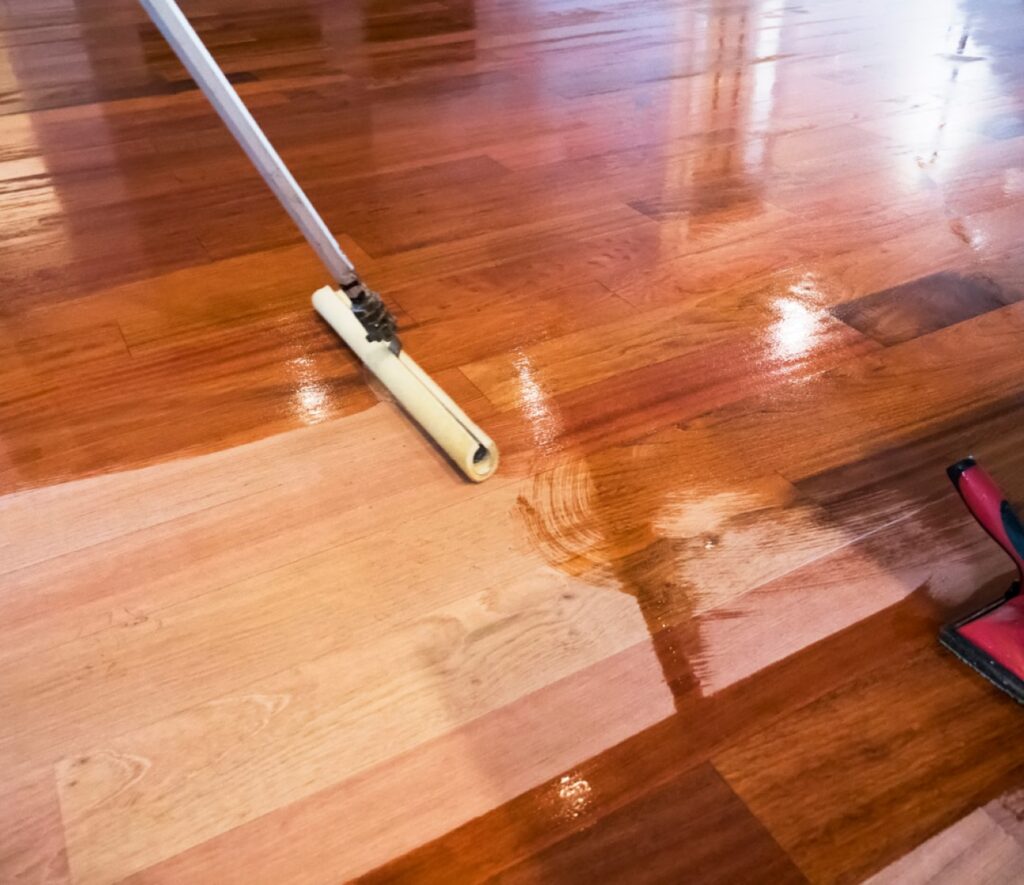
Buff the floor
Buffing the floor will remove tiny sanding marks and give a completely smooth finish. Some people rent an industrial floor buffer for this step, but a pole sander, pictured, is another great option. Using a pole sander is a bit more time consuming, but also easier to use than a buffer and more affordable. Using a 120-grit sanding screen, buff the floor along each board, moving back and forth with the grain. Apply stain The bare floor is now ready for either stain or sealer. If you want to change the color of the wood, add a stain. Pick an oil-based stain in the color of your choice. Make sure your area is properly ventilated and wear a respirator mask. Stain and other finishing products emit harmful vapors. Use a lambswool applicator or staining sponge. Because you removed the molding in the first step, you won’t have to worry about cutting in around the edges of the floor. Dip your sponge or rag in the stain and then wring out any excess liquid. Work from the far corner of your room toward the door so you don’t step on the fresh stain. Apply stain in the same direction as the grain in 3- to 4-foot sections at a time. Don’t allow stain to pool on the floor. Wipe away excess stain from the floor before moving to the next area. Try to avoid letting the edges dry. Pay extra attention to where each section meets the next and use your sponge to blend these lines together. Once the entire floor is stained, let it dry completely (usually at least 24 hours). You may need to apply a second coat in the same manner to achieve the desired color.
Apply the Finish
After the stain is dry or if you are skipping stain, finish by sealing the floor. Sealing protects the floor from water damage, dings and scratches and adds luster and shine to bring out the beauty of the wood.
Polyurethane sealer is probably the most popular hardwood sealer and is available as a water-based or oil-based product. Because polyurethane sits on top of the hardwood (it doesn’t soak in), it offers excellent protection from water and scratches and it requires minimal upkeep. It comes in a variety of finishes from glossy to matte. Make sure your space is well-ventilated and that you are wearing a respirator mask when using polyurethane, especially oil-based polyurethane.
Contact Get It Installed
To schedule an appointment or get a free quote on flooring installation in Kansas City, contact us at 913-375-2219
Solid Hardwood vs. Engineered Hardwood
With so many beautiful and durable hardwood options, choosing one for your project is exciting—and it can also be a challenge. Understanding the differences and similarities between solid hardwood and engineered hardwood will bring you one giant step closer to nailing down (no pun intended) the right flooring for your home.
What is solid hardwood flooring?
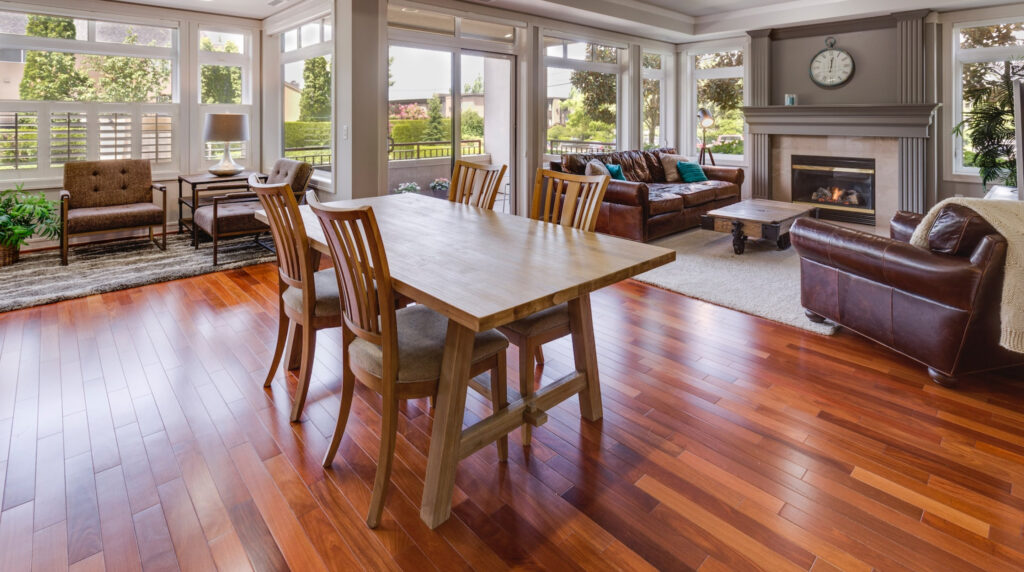
As the name suggests, solid wood flooring is made of solid wood throughout its thickness, usually a hardwood species, such as oak, maple, or walnut. Its significant advantage is that it can be sanded and refinished numerous times throughout its lifespan. It’s considered by many homeowners to be the “gold standard” in flooring. Constructed from one solid piece of 100% hardwood, it’s known for its durability, authenticity and timelessness.
It is milled with tongues and grooves on opposite edges so that the boards interlock when installed. It is always nailed down to the subfloor, a process that requires some skill. Because it is solid wood, this flooring can be sanded down and refinished several times over its life.
Solid hardwood is relatively easy to clean and maintain. Most floors only need sweeping and vacuuming, with the occasional mopping with a special wood cleaner to treat stains. Just avoid using water or steam to clean wood floors.
However, hardwood flooring is better for long-term maintenance because it can be sanded down and refinished several times over its lifespan to look as good as new.
Hardwood flooring has a significantly longer lifespan than most types of floorings available. Hardwood flooring can last anywhere between 30 to 100 years with the proper maintenance and care. This is why we still see some houses with hardwood floors from the 1850s.
When it comes to water and the environment, hardwood flooring is more sensitive than other flooring options. Hardwood is not recommended for installations where humidity or moisture can go through because it causes swelling and warping.
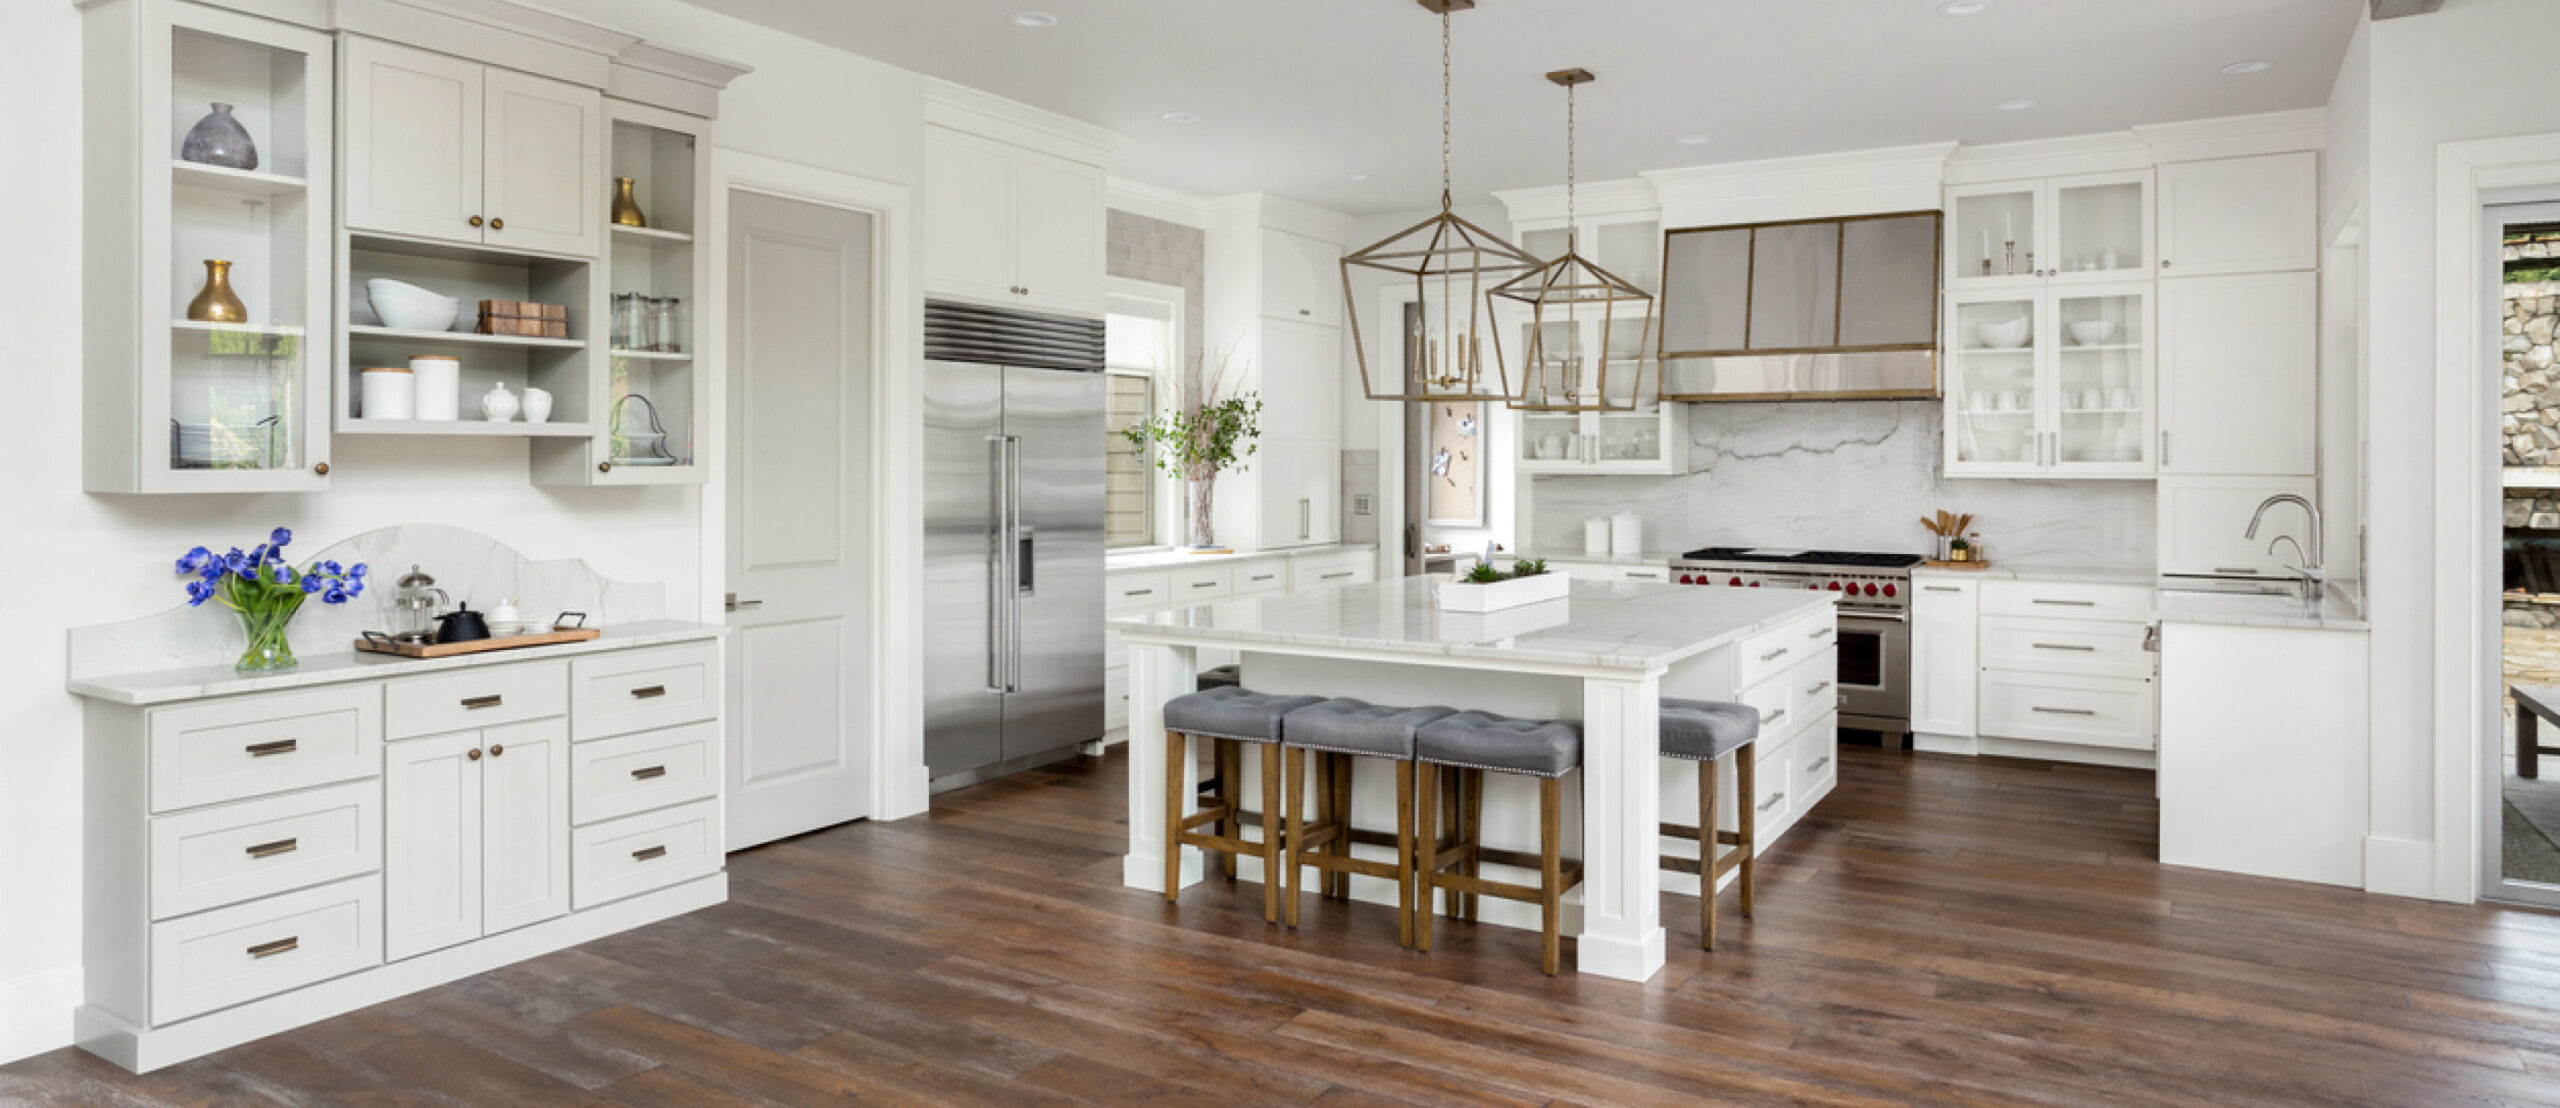
What is engineered hardwood flooring?
Engineered wood flooring looks very similar on the surface, but it is made from a relatively thin layer of hardwood bonded over a substrate of high-quality plywood. Engineered flooring is somewhat less expensive than solid hardwood, but most types can be sanded and refinished only once or twice since the surface hardwood layer is relatively thin.
Engineered wood flooring looks like solid hardwood, but its construction features a relatively thin layer of hardwood bonded over a premium-quality plywood layer that gives the flooring excellent stability. The best engineered wood flooring will have good flexibility and a durable plywood core with three to nine layers. You can count on a good-quality engineered wood floor typically lasting 25 to 30 years. It is less expensive than solid wood and more manageable for DIYers to install.
Like hardwood, engineered wood flooring only needs sweeping and vacuuming to stay clean. Occasionally mopping it with wood cleaner can help prevent stains and revitalize the top layer.
Most engineered wood floors don’t have a thick enough top hardwood layer to be sanded and refinished overtime. In most cases, they can be refinished once or twice before the hardwood layer is exhausted and you need to repair the planks.
Although engineered wood flooring can’t be refinished as often as solid hardwood, it can still last up to 30 years or more with proper maintenance. While the entire floor can’t be sanded down and refinished, one of the benefits of engineered wood flooring planks they can be easily replaced, especially those installed with the click-and-lock method.
While engineered wood flooring isn’t waterproof, it has better performance in humid locations compared to hardwood. Because plywood construction is more stable, this flooring is less susceptible to warping and swelling. However, some engineered wood flooring can include a protective layer over the hardwood veneer to protect even more against water spills and water damage.
Overall, both hardwood and engineered wood flooring have the same resistance to heat. Although, neither material is recommended for wet locations such as bathrooms and basements.
Engineered wood flooring was once regarded as a pale imitation of solid hardwood, but improvements in the product quality have eliminated this perception. Solid hardwood may hold a slight edge in prestige for some people and continues to be a top choice among professionals for adding value and durability, but the lower cost and easier installation of engineered wood flooring gives it the edge over others. In many aspects, hardwood and engineered wood floors can be used interchangeably in most homes
Contact Get It Installed
To schedule an appointment or get a free quote on flooring installation in Kansas City, contact us at 913-375-2219
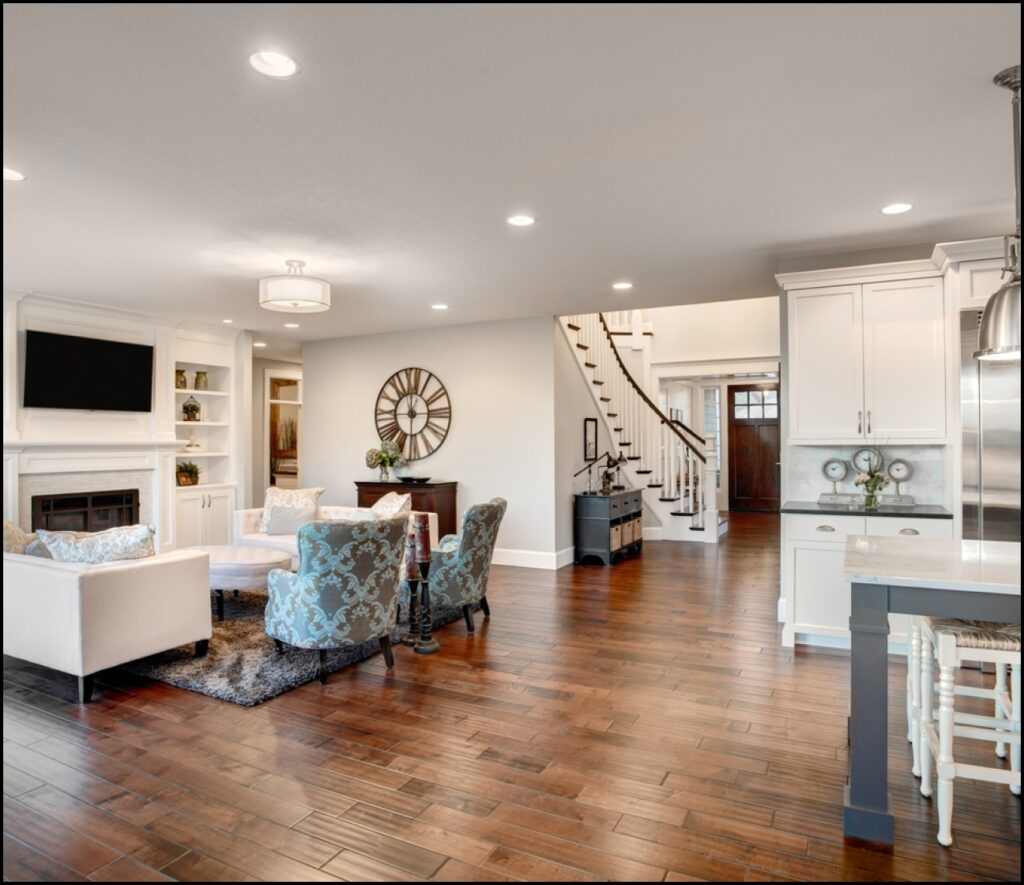
How to Clean Hardwood Floors
Hardwood floors are durable and, with proper care, last for decades. The main thing to determine before you start cleaning is your type of flooring: solid hardwood flooring, engineered hardwood flooring, or laminate wood-look flooring. They look very similar but care for laminate differs from solid or engineered hardwood. Solid and engineered hardwood flooring can receive the same cleaning regimen but never use hardwood floor cleaners on laminate since the oil and waxes in the ingredients can dull the surface. You can keep them looking lovely by following these tips on how to clean hardwood floors.
Dust or vacuum to remove dirt, pet hair, and other debris
The first step in learning how to clean hardwood floors is removing dust or debris that can scratch or dull their surface. Sweeping and vacuuming hardwood floors works well no matter what kind of wood floor you have. Here are some tips:
- Use a broom or hardwood floor mop for cleaning wood floors daily. A microfiber dust mop pre-treated with a dusting agent will pick up dust and dirt and prevent scratches.
- Vacuum your hardwood floor once a week. Use your vacuum’s “hard floor” setting. This raises the vacuum cleaner, deactivates the brush roll, and works only by suction.
- When vacuuming hardwood floors, be careful to always turn the brush roll off since it can scratch your floors. Some models offer rubber wheels, which are less likely to leave scratches than models with hard plastic wheels.
Mop with a liquid cleaner
Mopping weekly or bi-weekly ensures your floors stay clean, especially in high traffic areas. You’ll need to use a liquid hardwood floor cleaner and saturate your rag or mop. Then, mop the floor with the cleaner, being careful to not put too much liquid on the floor. Rinse the mop with clean water, wring out excess, and damp mop the floor to remove the cleaner. Wipe up excess water with a clean, dry towel because standing water will damage the floor. Don’t use DIY wood floor cleaner containing vinegar when mopping your hardwood floors because it can damage the finish. And avoid using harsh detergents that will dull the surface of your floors. You also shouldn’t use products like vinyl floor cleaner or tile cleaner on hardwood floors.
Here are the key components to look for in ready-made solutions engineered specifically for wood floors:
- Solvents: Speed the drying process, reducing exposure to moisture and making the job go faster; they also minimize streaking and filmy buildup
- Surfactants: Loosen grease and dirt and emulsify them so they can move to the mop head
- Chelators: Fight water spotting and snow-melt salts
- Citric Acid: Breaks up dirt and combines with alkaline ingredients to help achieve a neutral p
- Oxidizers: Release hydrogen peroxide to bust up dirt on long-neglected floors
Take care of scratches and dullness
Knowing how to clean hardwood floors includes taking care of occasional scratches and dullness. Here’s a few quick fixes:
- Try liquid scratch concealers. When they dry, they form a permanent seal that won’t come off during cleaning. Be sure to select a concealer that best matches the color of your floor’s finish.
- You can restore the shine with wood floor polish. It’ll also protect your floor from wear and help fill small scratches.
- Use floor wax to revitalize and deep clean worn floors. Always apply floor wax to go with the grain of the wood.
- Other floor protection materials include repair kits, scratch repair kits and touch-up kits.
- If your floor is real hardwood, lightly sand it, then apply a new finish to restore the wood’s natural beauty.
Tips to keep floors clean longer
Make sure you have a doormat outside your main entrance door and, if possible, inside your door too. The door mat may get dirty fast, but it’s better there than all over your house.
Spills and messes can worsen if you don’t clean them up right away. If you’ve lived with children or pets, you know what happens when Cheerios get flung from a high chair or dog kibble is left on the floor; it becomes a crumbly, powdery mess once a foot steps on it. Juice splatters become a sticky nightmare after a few hours. If you leave these cleaning tasks until the next time you wash the floors, your floors will look dirtier and will take longer to clean when you get around to them.
Contact Get It Installed
To schedule an appointment or get a free quote on flooring installation in Kansas City, contact us at 913-375-2219